Translate

Friday, October 31, 2014

Tender Pork Tenderloin in 11 minutes!

The versatility of the pressure cooker continues! I made a delicious pork tenderloin in 11 minutes with the pressure cooker. It is simply amazing how you can get great results at a fraction of the time.This recipe is relatively simple and doesn't require special ingredients that you wouldn't usually get.


Ingredients:

1 lb Pork Tenderloin
1/4 cup Water
3/4 cup White Wine
Cooking Oil
Salt
Pepper
Italian Seasoning
Smoked Paprika
5-6 Garlic Cloves

Instructions:

1) Wash the pork tenderloin and pat it real dry


2) Season the pork tenderloin throughout the meat


3) Marinate overnight if you like [optional]
4) Make sure to bring the pork tenderloin to room temperature before cooking
5) Get your pressure cooker and heat it to medium-high and splash cooking oil of your choice and throw in minced garlic
6) Sear all sides of the pork tenderloin for couple seconds on each side to seal in the juices


7) Pour in the liquid (water and white wine) into the pressure cooker and pressurize!


8) Set timer to about 11 minutes (about 10-11 minutes a lb)
9) Once 11 minutes has elapsed, depressurize the pressure cooker
10) Let me the meat rest for about 5 minutes before serving


11) Bon Appetit!


Wednesday, October 29, 2014

Awesome NY Meat Lover Pizza in California?

Yup you heard it right! You don't need to go to the East Coast for some great NY Meat Lover Pizza! There's a nice place called Regents Pizzeria that surprisingly does a great job at making pizzas! Both New York (Thin) and Chicago (Deep Dish) style.
The tomato sauce they use is the perfect balance between sweetness and tartness. The toppings taste fresh. The dough they use and the crust is just spot on. The crust is so good that you actually want to finish it. It has the perfect texture and bounce back when you bite it. I don't usually have much memorable pizza experiences but this has got to be one of them. I always come here when I need to fulfill my pizza cravings! Let me know what you think!

Name: Regents Pizzeria
Yelp: Click Here!!!
Google Maps: Click Here!!!

NY Meat Lover - Medium


So Beautiful

Monday, October 27, 2014

Shellfish of the Day: Fresh Live New Zealand Greenlip Mussels

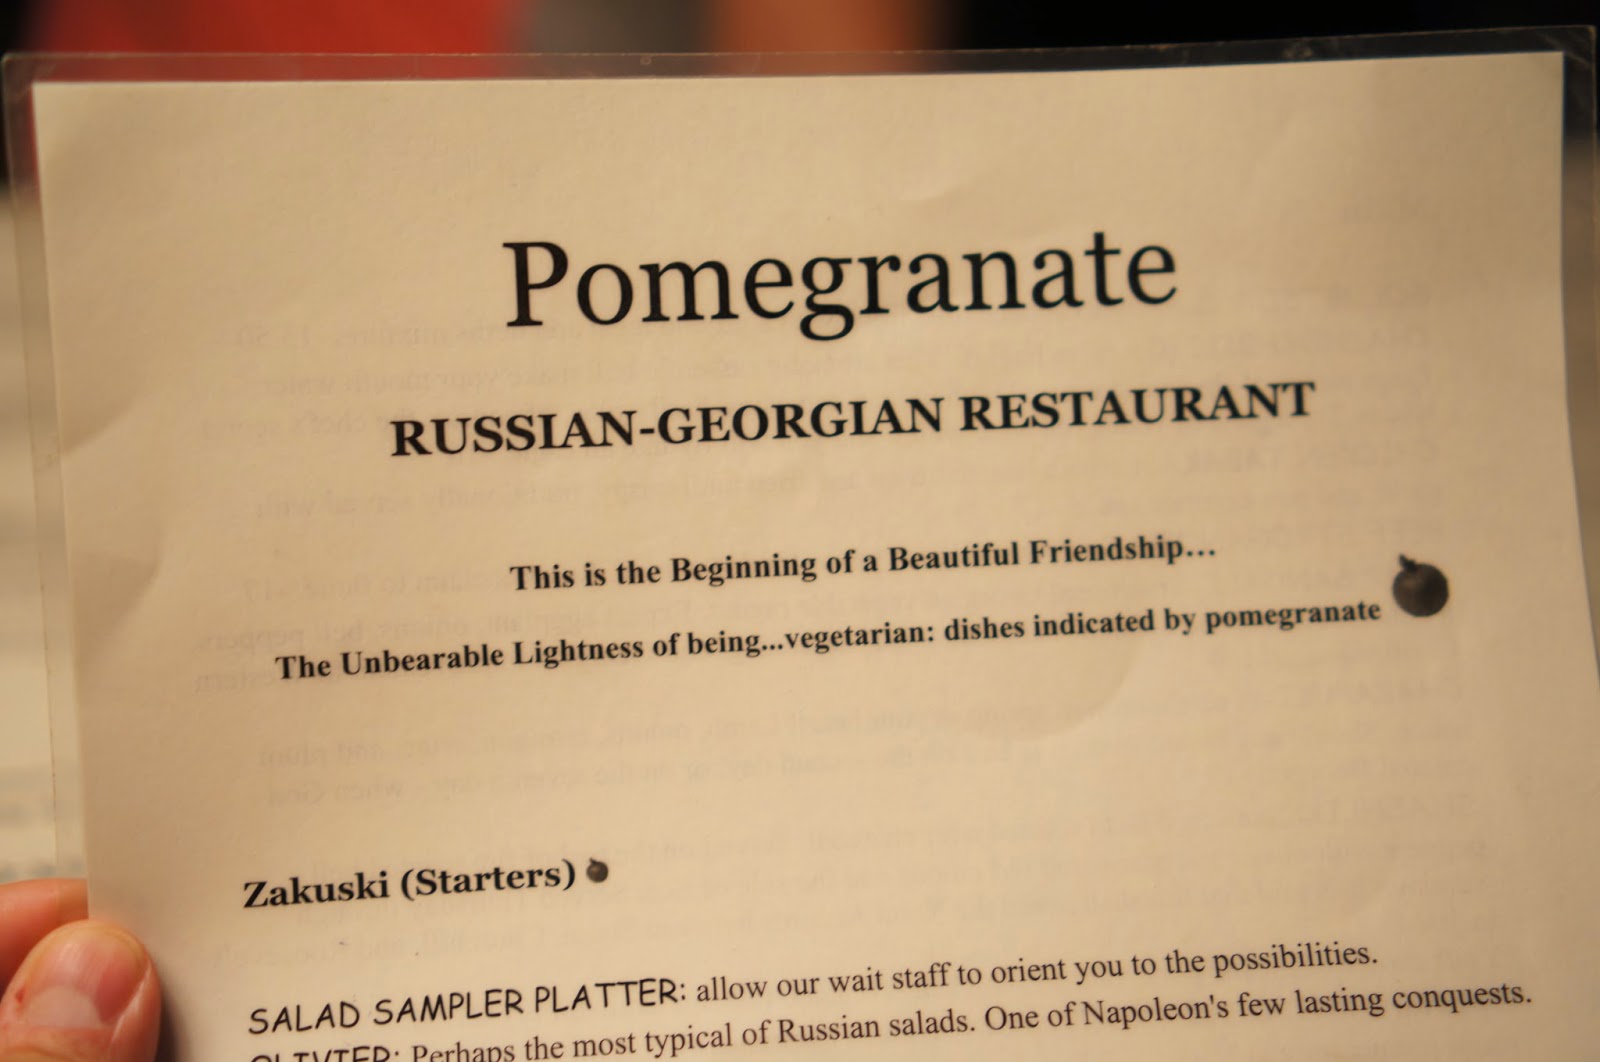
Move over Black Mussels! Greenlip Mussels are here to stay! Yes they are called "Greenli"p because the mussels' lips are green! I like meatier, sweet, and larger mussels and Greenlips are all about those features! Bought some fresh live ones over the weekend and looked forward to cooking them! They are super easy to cook as you just need to wait until all of them have opened up (just like popping popcorn!) to know when they are ready to eat. Usually all of them will be cooked around 8-9 minutes.


Ingredients:

2.5 lbs of Greenlip Mussels
2-3 Celery Sticks
4-6 cloves of Garlic
1 Tomato
1/2 Onion
1 cup White Wine
1 cup of Water
Splash of Olive Oil


Instructions:

1) Discard any mussels that have opened and do not close after touching them. Never want to consume dead mussels before cooking them.
2) Brush and clean very well each mussel from dirt/sand and residue
3) Pull the hair that's sticking out of the mussel by dragging it counter-clockwise. You don't want to eat that part of the mussel. You can either remove it now or remove it later.
4) Heat a pot to medium-high and splash oil to it and add the diced garlic, tomato, onion, and celery.
5) Give it couple minutes for the above to "sweat" and release moisture.


6) You can opt to blend the vegetables if you like or leave it straight up and then pour in the white wine and water and wait for it to boil.
7) Once boiled, throw in the mussels and set timer to about 8-9 minutes. Make sure you don't overcrowd the pot with mussels!
Don't overcrowd like what I did here :)

8) Start shaking the pot periodically to move around the mussels while cooking.
9) Once the mussels open up that's when it's ready to start picking them out from overcooking.


10) After 8-9 minutes and some mussels have still not opened, discard those and do not eat!
11) And voila fresh delicious Greenlip mussels are served!


Sunday, October 26, 2014

Russian Food featuring the Shashlik!

There's a nice little hidden gem in San Diego that serves great authentic Russian food. I always take my visitors here whenever they want to try something new (outside their food comfort level) and usually they are pleasantly surprised by the food every time!  As spoiled from my post title, their Meat Shashliks are great!

Shashlik directly translated is "skewered meat" and was originally made of lamb. Now it can be offered as beef, chicken, and pork! Each is marinated overnight with some herbs and spices, vinegar, dry wine, and some sour fruits/vegetables and cooked on a grill called a "Mangal". The Shashliks here were served with a side of rice and roasted bell peppers, olives, and onions.

My group ordered the available meats and each was cooked perfectly! Cudos especially to the pork loin as pork is a tricky meat to cook properly and thoroughly without overcooking it. Give this a place a try and let me know! Where's your place for authentic Russian food??

Name:  Pomegranate
Yelp: Click Here!!!
Google Maps: Click Here!!!


Bread served with Dill-Infused Butter

Russian Soda (Pear Soda) - delicious!

Siberian Dumplings

Chicken Shashlik!

Lamb Shashlik!

Pork Shashlik!

Friday, October 24, 2014

Shellfish of the Day: Fresh Hood Canal Oysters!

I recently went to a seafood restaurant that served Hood Canal oysters and I was pretty content on this kind. As you might already know, there's a ton of varieties when it comes to oysters and it's usually pretty difficult to remember what you had but the Hood Canal oysters did leave a lasting impression to me. It was pretty meaty, not very salty, not very metallic tasting, and had a decent texture to it. Oysters are pretty expensive at restaurants and can cost over $3 an oyster!

I decided to hunt for seafood wholesale markets that sell them so I can shuck and eat them at home. I found a place that sold them for 79 cents an oyster! You start to realize how much many restaurants are charging and see how much they are profiting. It's quite interesting.

I consumed these oysters raw so there's not much skill required and you just need to invest in an oyster shucker and just watch some Youtube videos. In short, you just need to stab/pierce/crack with the oyster shucker a gap between the top and the bottom lid of the oyster's back side. Basically that's what is keeping the oyster intact. You just keep forcefully twist your oyster shucker clockwise and counter-clockwise to slowly "drill" and detach the two oyster lids. It takes some practice and some trial-n-error on the technique but it's totally doable!

Give it a try and good luck!


Oyster Shucker
Drill at the back side between the two lids!


Voila!


Thursday, October 23, 2014

Shellfish of the Day: Fresh Live Whelk Snails!

Do you like Snails? I do! When it comes to fresh live Snails, I like to just simply steam them and dip with butter! Have you had Whelk Snails before? They have a unique shell shape and come in many different sizes. I went to a Seafood market over the weekend and grabbed 3 lbs of these snails! It's pretty easy to cook but slightly tricky to eat!


Ingredients:

3 lbs of fresh live Whelk Snails
Butter
Lemon

Instructions:

1. Submerge all the Whelk Snails in a pool of water to allow the snails to excrete any dirt/rocks/etc for couple minutes


2. You'll need to repeat the above steps with a fresh pool of water for a couple of times until there's no visible dirt/rocks/etc
3. Now some stubborn dirt/rocks/etc are still stuck on the shell itself and will require some brush to remove.
4. Perform one final wash of all the snails and prepare to steam!
5. Depending on the size of the snails, aim for steaming them from 10-15 minutes. Be careful though if you overcook them, they tend to be more chewy/rubbery than desired. The perfect time is merely best guessed through trial and error. I think 10-11 minutes is ideal for my size/amount of snails.


6. Now melt some butter and squeeze lemon over it as your dipping sauce. Another option could be to use Soy Sauce instead.


How to eat them??
  • Simple grab two to three toothpicks together and stab the snail meat as inside/deep as possible and pull the meat out of the shell in the direction of how the physical shell is spirally outwards. The hard lid on the snail is not edible and needs to be removed before eating. Also the dark piece/tail end of the snail is not edible either so be sure to remove before eating!


Wednesday, October 22, 2014

Best Cheese Rolls Ever!

I've had my share of fresh pastries and I think this place may serve one of the best Cheese rolls I've ever had. Although I haven't had much other places to compare to other Cheese rolls but I rarely give much praise to much places on the food they serve. I don't have too many food addictions but this is one of them! I always try to get some Cheese rolls if I'm in the area. You don't need to take my word for it, just witness it yourself and you'll see why! There's always a huge line to order your food. There are multiple locations throughout Los Angeles and I've been to three of them so far (not sure if there's more) and each are always super packed and quality is same across!

Although I have heard their Potato Balls are pretty good, I can only comment on their amazing Cheese Rolls. If you never been to a Porto's, you should when you are in the Southern California! Simply an amazing Cuban bakery! The best is that each Cheese roll is only 70 cents each! The newest and probably largest one is the one at Downey, CA.

Name: Porto's Bakery
Location: Los Angeles, CA
Yelp: Click Here!
Google Maps: Click Here!

Cheese Roll

More Cheese Rolls


Tuesday, October 21, 2014

Delicious Super Tender Pork Shoulder Roast in under 45 minutes!

Time to make good use of my pressure cooker! Today I made a 3lb pork shoulder roast and it was amazing! Super tender and some portions of it just shredded on contact.

Ingredients:
  • Salt
  • Cooking Oil
  • Pepper
  • Smoked Paprika
  • Garlic Powder
  • Diced Garlic cloves
  • 1/2 cup of White Wine
  • 1/2 cup of Water
  • ~3lb Pork Shoulder
Instructions:
  1. Wash the pork shoulder in cold water
  2. Pat it really well with paper towels
  3. Poke holes throughout the pork shoulder to allow absorption of the seasonings 
  4. Season generously the above ingredients onto the pork shoulder 


       5. Poke holes again so the seasonings gets inside the meat (optional)
       6. Let it marinate overnight or for couple hours (optional) 
       7. If marinated overnight, bring it back to room temperature before cooking       
       8. Get your pressure cooker out and set heat to Medium-High
       9. Pour cooking oil of your choice and pour in the diced garlic cloves


      10. Sear the pork shoulder really well on all sides for couple minutes
      

  11. Now pour in the liquid (half water half white wine), close the lid, and pressurize!
  12. Set heat to High until it pressurizes and then lower the heat to medium-low or low enough such it that it maintains the pressure


    13. Set timer to ~ 45 minutes
    14. Once time has elapsed, depressurize and let it rest for 5-10 minutes for the juices to settle and seal back into the meat


    15. And serve!!!