Translate

Saturday, January 31, 2015

Boiling fresh Maine Lobsters to Perfection

The price has finally gone down to make it somewhat affordable to eat. Last time I checked, seafood markets were asking for $20 a lb here and on my recent visit, it came down to $6.99 a lb!


The secret to cooking lobster to perfection is to poach them, do not boil them! When you boil lobster, they will get too stiff and over-boiling will cause them to release all the white protein/fat which has full of flavor. Aside from poaching them, you must use a large enough pot so the lobsters aren't crowded in the pot and season the water with salt!

Usually you want to boil the lobster at about 7.5 - 8 min / lb. If you have multiple lobsters, the total cooking time is still based on one lobster. So if you have two lobsters that weigh on average 1.5 lbs, then the total cooking time would be 11.25 - 12 min.

You usually want to fill your pot 3/4 full as you want your lobster to be fully submerged while it's "poaching". To figure out how many lobsters you can cook in your pot, you can do this calculation:

Total # of Quarts / 1.5 = Total # of Lbs of Lobster you can cook at one time

Say if your pot 3/4 filled is 5 quarts then you can cook up to 3.33 lbs of lobster at one time. This means if you have two lobsters that are about 1.5 lb each then it's safe to cook both of them at the same time!

How much salt to season the water do you need?

~ 1/3 cup of salt per gallon

How do I insert the lobster into the pot?

Ensure the water in the pot is boiling and then plunge the lobster head first to instantly kill them.


Tips:
  • return the pot to a slow rolling boil and do not cover the pot with a lid
  • if you want lobster eggs, try to get female lobsters
  • heat up some butter and minced garlic as your dip!
  How to differentiate between a male and a female lobster?

FEMALE: tiny, soft thin legs

MALE: thick, hard legs
Finished Product!


Cheers!


Monday, January 26, 2015

Delicious Black Sesame Ice Cream from Scratch!


Western desserts seem pretty limited in flavor profile compared to desserts from other places in the world.  Black sesame, for one, is one of my favorite ice cream flavors.  The dark, nutty flavors of the sesame seeds compliment the sweet creamy dessert nicely.  Some even say that black sesame can strengthen hair and provide people with black/dark hair long, lustrous locks.


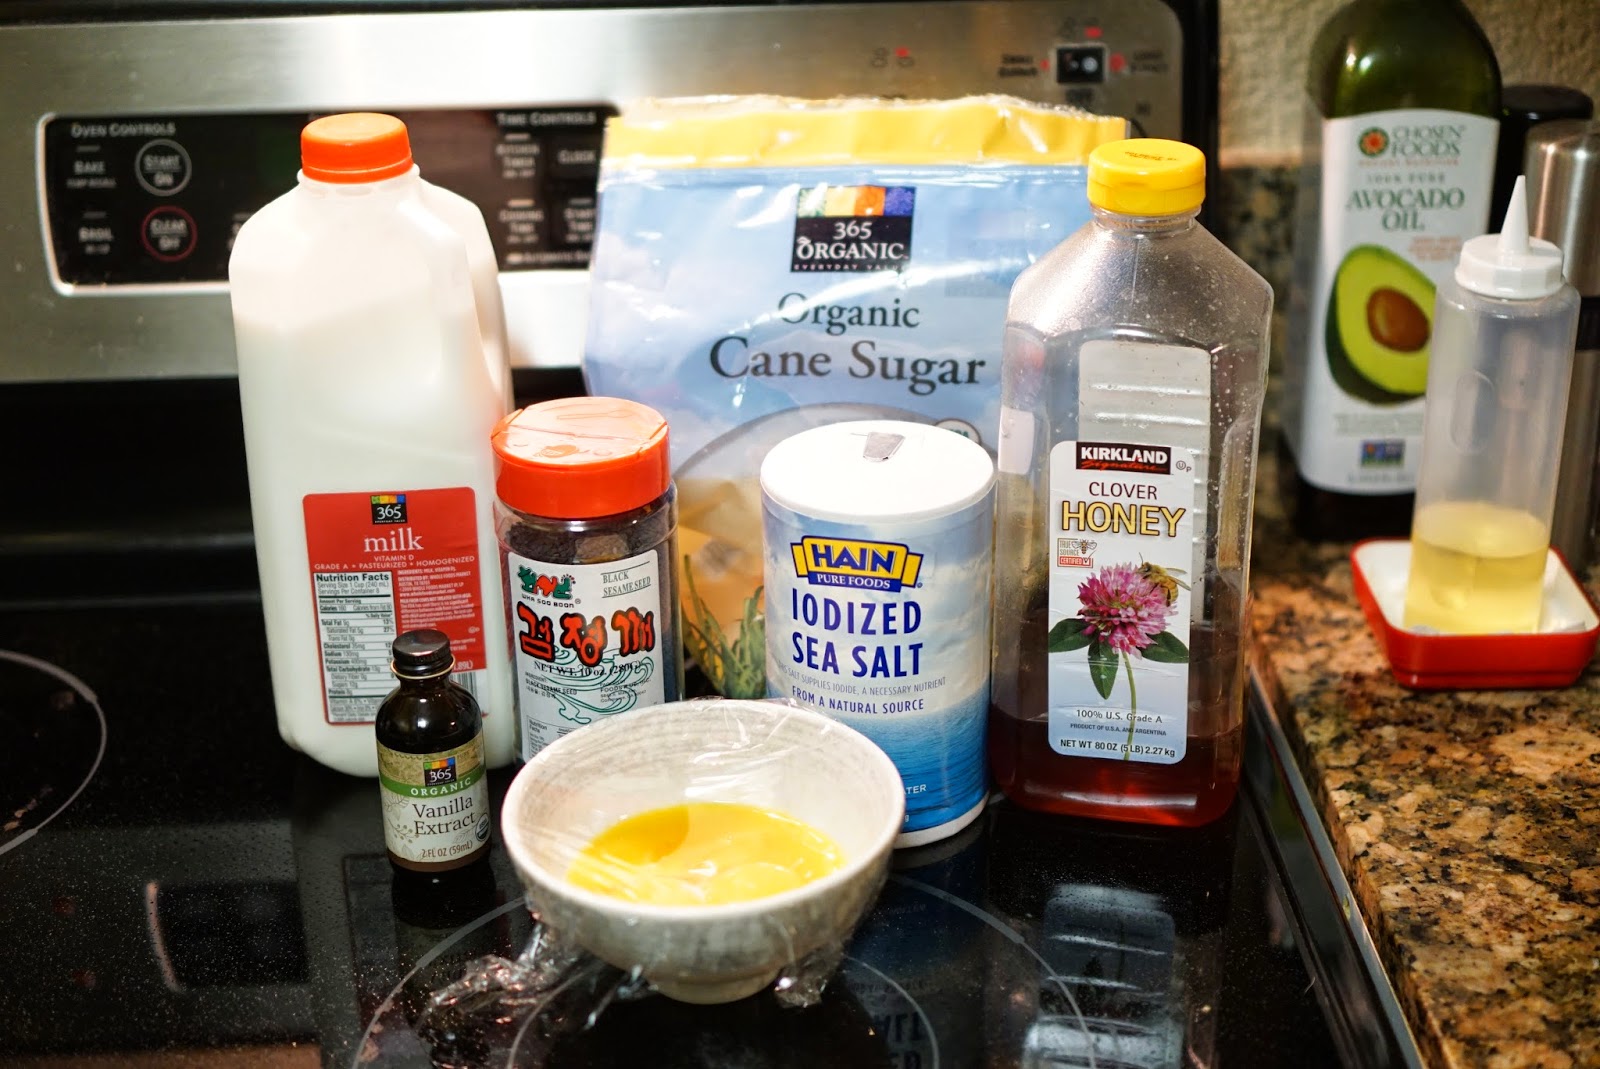
Ingredients:
4 egg yolks
5 tablespoons of black sesame seeds
4 tablespoons of honey
2 cups of whole milk
2 cups of heavy whipping cream
1/3 cup of sugar
1 ice cream maker


Instructions:

1) Toast your black sesame seeds over medium heat in a non-stick pot/pan.  They will be very aromatic and start making a subtle "popping" noise when they're ready.


2) Remove the seeds from the heat and place into a food processor.  Process until you have fine grains.
3) Combine the fine black sesame granules with the honey and mix well.
4) In a separate bowl, blend the egg yolks and 1/3 cup sugar until you achieve a pale yellow, creamy mixture.


5) Add in the black sesame and honey paste to the egg mixture and mix well.


6) In a new pot, start heating your milk.


7) Add in your egg mixture and mix vigorously.  Keep heating the mixture over low/medium heat and mix frequently to prevent overcooking the eggs.  You want to achieve a creamy custard texture, but avoid allowing the eggs to cook completely and form clumps.


8) Allow the custard to cool in the refrigerator overnight.
9) In the meantime, freeze your ice cream maker bowl (if applicable).
10) The next day, whip the heavy cream to stiff peaks.


 11) Fold in the black sesame custard that you chilled overnight.


12) Put the mixture into your ice cream machine and allow to churn 20-30 minutes or until you achieve a soft-serve ice cream consistency.


13) Transfer the ice cream to a freezer-friendly container, and allow to continue hardening in the freezer for 5-6 hours before serving.

Friday, January 23, 2015

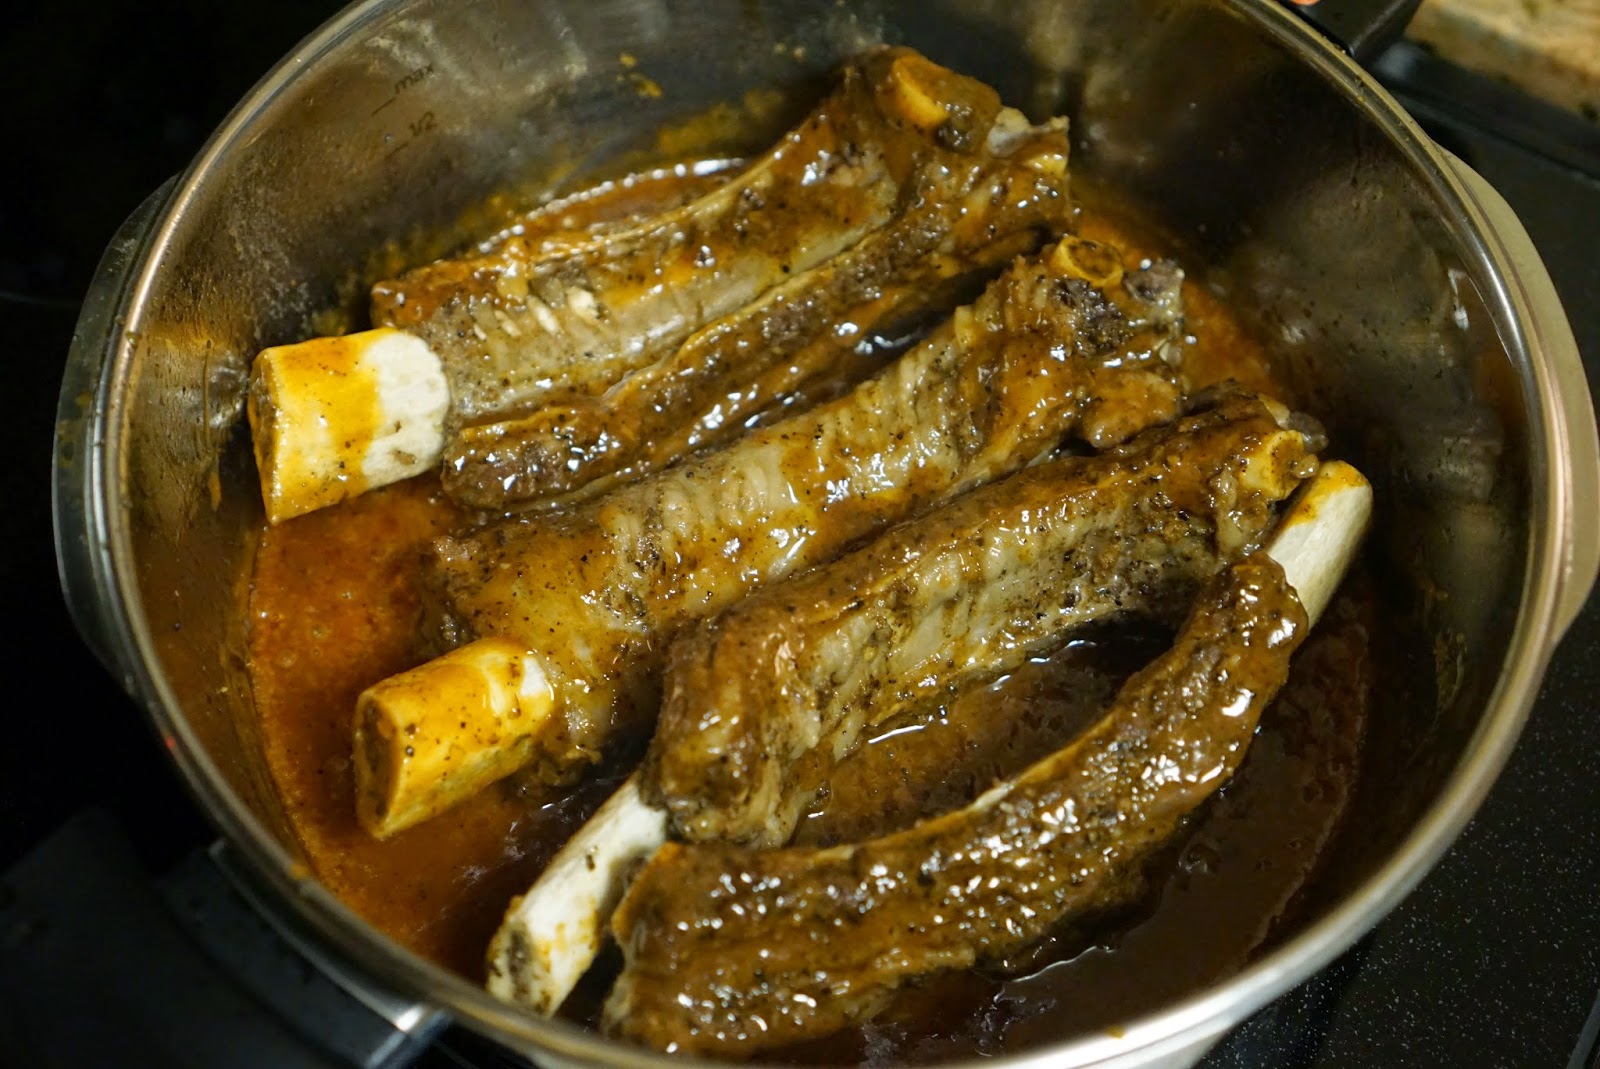
Sticky BBQ Pressure Cooked Beef Ribs Spectacular!

I try to challenge myself and try to make food that I usually would order outside to see how I would fair. This not only allows me to enjoy the foods I love at a fraction of the price but also forces me to try something new at restaurants. Of course not every attempt goes perfectly but I try my best and I'm pretty content with the results on the beef ribs I made last night!


Ingredients:

  • 4 beef ribs (~2.5 lb total)
  • Dry rub of your choice
  • Wet BBQ sauce of your choice
  • 3-4 cloves of garlic
  • Cooking Oil (used Avocado oil)
  • Salt 
  • Pepper
  • Oregano
  • 1/3 cup of Chicken Stock


Instructions:

1) Pat very well the beef ribs to remove any moisture with paper towel
2) Season generously the beef ribs with Oregano, Salt, and Pepper


3) Set heat to medium-high and oil your pan and throw in the cloves of garlic to season the surface


4) Sear your beef ribs on all sides to a seal in the juices and browning them


5) Pour in the Chicken stock and seal the pressure cooker and pressurize


6) Set timer to 15 minutes
7) Once time has elapsed, take out the beef ribs to rest


8) Drain out the extra oil and flavor in the pan
9) Pour in the web BBQ sauce and let it thicken


10) Once sauce has thickened, place the beef ribs back into the pan cook under low heat for ~ 5 minutes


11) Once you are content with how sticky the sauce is on the beef ribs then you are ready to serve!


Tuesday, January 20, 2015

Pressure Cooked Perfection with Ox Tails

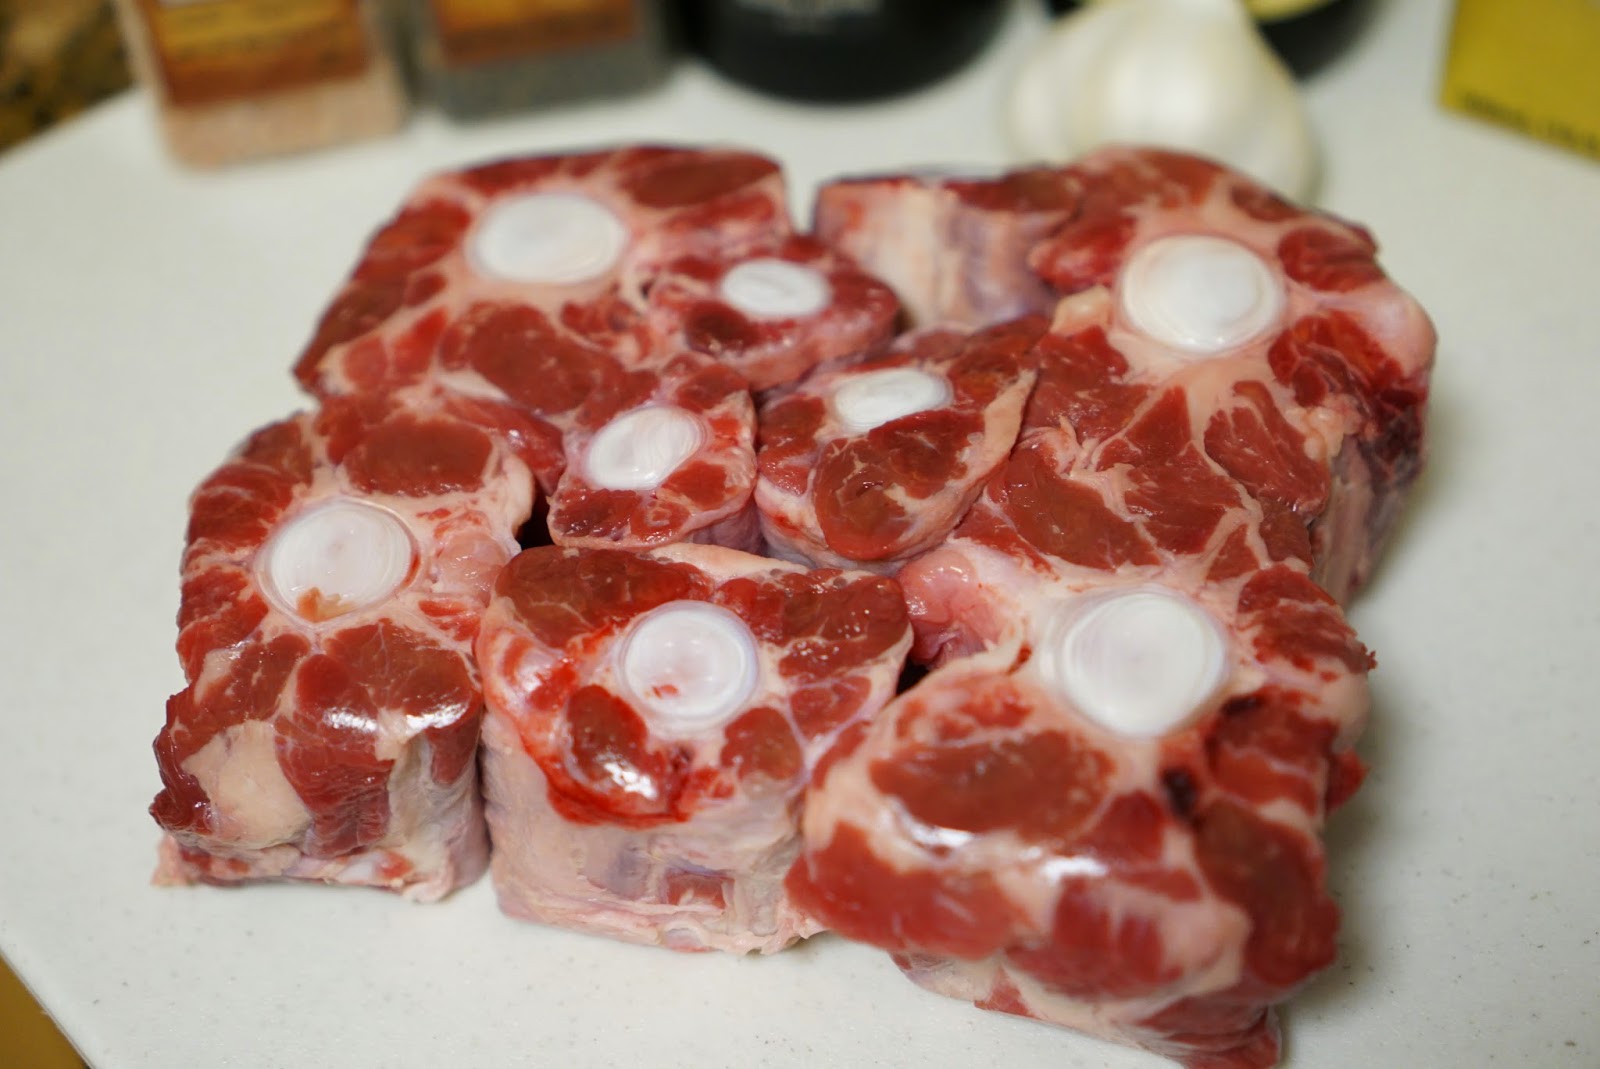
I'm ready to never order ox tails at restaurants anymore! Pressure cooking ox tails is so easy and this method gives amazing results and is simply fool proof!


Ingredients:
  • Stewed Tomatoes
  • Worcestershire sauce
  • 1/2 cup Chicken Stock
  • 1/2 cup Red Wine
  • Salt
  • Pepper
  • 4-5 cloves of Garlic
  • Couple sticks of Thyme

Instructions:

1) Pat super dry the Ox tails


2) Season very generously salt and pepper on all sides of the Ox tails
3) Splash generously Worcestershire sauce over the Ox tails

 
4) Heat pan to medium-high and throw in the gloves of garlic and thyme to season the surface


5) Once pan is hot enough, commence searing the Ox tails on all sides to a nice brown


6) Throw in the stewed tomatoes and the liquids (red wine and chicken stock)


7) Pressurize, lower heat to medium-low and set timer to 45 minutes!


8) Depressurize naturally or run the lid over cold running water
9) Let it rest for couple of minutes before serving!


Monday, January 19, 2015

Simple Sear and Oven-baked Organic Chicken Drumsticks

Thought I'd give my pressure cooker a break and go back to traditional methods of cooking chicken. I marinaded my organic chicken drumsticks and seared it until browned and then popped them into the oven. Results were pretty good, super juicy and moist chicken drumsticks!


Ingredients:
  • Organic Chicken Drumsticks
  • Marinade of your Choice (used Lemon Garlic)
  • Cooking Oil (used Avocado oil)
Instructions:

1) Wash your chicken drumsticks in cold running water and pat it super dry with paper towel
2)  Have a container that will hold your drumsticks and pour in your marinade and ensure every drumstick is soaked with the marinade
3) Marinade for at least an hour or so, the longer the better.
4) Oil your pan and set heat to medium-high
5) Preheat oven to 350 F
6) Once the pan is hot, sear the drumsticks until browned on all sides.

Commence browning!
7) Once preheated and the drumsticks have browned, place it into the oven and set timer to ~ 25 minutes
8) Once time has elapsed, let it rest and serve!

So moist and juicy!
Thanks again everyone for +1 and resharing! Really appreciate it and if you have any questions/suggestions, please feel free to comment below!

Friday, January 16, 2015

Crabcakes Galore

I love crabcakes, even though I have a questionable food allergy to crabs.  Don't worry, I only get hives, and I've never had an anaphylactic reaction.  Despite my love for crabcakes, there are far too many restaurants out their that just CAN'T get it right!  Some places over-season the cakes, blocking out the beautiful subtle sweetness of the crab, and some places use far too much breading as a filler to minimize the cost of making crabcakes.


Here's my guide to making the ideal crabcake, especially if you like to appreciate simple flavors, minimal breading/filler, and excellent natural crab flavors that are nicely complemented by a few simple ingredients.

Ingredients:


- 16 oz lump crab (they have it at Costco!)
- 1/4 cup finely diced celery
- 1 Tbsp Worchestershire sauce
- 2 tsp mustard (I like honey mustard, some may prefer Dijon mustard)
- 1/4 cup mayo (I use Kewpie/Japanese mayo)
- 1 large egg
- 1 tsp salt
- black pepper (season to desired effect)
- Sriracha (optional)
- 1 cup Panko bread crumbs

Instructions:
  • Drain the crab!
  • Beat your egg, then add in all of your wet ingredients in no particular order.
  • Gently mix in your lump crab into the wet ingredients.
  • Add in about 1/4 cup of your panko bread crumbs and add celery and gently mix in.
  • In a gentle hand-cupping motion, create lump crab balls.  
  • Put the remainder of your panko in a bowl, and roll your crab balls in the panko to create a nice panko crumb crust.
  • Allow your crabcakes to set for 30 minutes to 1 hour in the fridge.
  • Preheat your oven to 390F
  • Bake for 25 minutes or until top layer of Panko crumbs are a nice, golden brown.
  • Serve alone or with a side of sauce of your choice (I recommend having some Sriracha mayo on the side for an extra kick).

Let me know how it goes! Thanks again everyone for +1 and sharing! :)

Thursday, January 15, 2015

Fist-Sized Sushi @ Uoshin

Do you remember those times when you go to a sushi bar and you got shoved with very little fish meat and a lot of rice in your sushi? Yeah, I have been a victim of those encounters. This place does exactly the opposite! My goodness, their sushi are humungous! Each was like the size of my fist! I was like where's the rice?? Although I must admit the quality of the fish wasn't quite the same as say a more expensive sushi bar but it was still relatively decent quality for the price let alone the portion!

Without realizing how much the pictures on their menu were very not to scale in a good way for the consumers, I ended up ordering more than I could handle. I ended up having to ditch some of the rice to at least finish the proteins! If you are ever in Osaka and see this place, don't underestimate the size of their sushi! This was quite a unique sushi experience that I never had before and I think it's worth a visit!

Store Front
Name: Uoshin
Location: Osaka, Japan
Google Maps: Click Here!
Food: Sushi

haha...Butchigiri Sushi

Yummy hot savory Egg stew

Only two Nigiris on this massive plate!
Same for this!
And this!


Even these were still pretty large, plate was actually really large...